Rust-SDL2 examplesをすべて試す
2024.09.01
この記事は最終更新日から1年以上が経過しています。

どもです。
またまた、久しぶり感。
今回はRustのSDL2パッケージであるRust-SDL2のexamplesをすべて試して見たということで、そのコマンドと様子の一覧になります。
その前に、Rustのcargoで用意されているコマンドについて。
cargoコマンド
cargoコマンドの中で、「example」コマンドが用意されています。
これは、以下の様に「examples」ファルダに格納されたRustのexampleファイルを実行することが可能です。
├── <examples>
│   └── <examples.rs>
この様に、Rustプロジェクト(cargo)ではフォルダ名によって、暗黙的に役割が与えられています。
その他にも「benches」「bin」「tests」があります。
これらのフォルダが存在している場合、cargoコマンドでRustファイル(.rs)に対する操作が行えます。
「examples」であれば、
cargo run --example [ファイル名]
「bin」であれば、
cargo run --bin [ファイル名]
「tests」であれば、
cargo test
「benches」であれば、
cargo bench
といった具合に、各フォルダに格納されているRustファイル(.rs)に対する操作を行います。
また、「examples」はショートカットとして、以下のように実行できますので、今回は以下のコマンドで実行していきます。
cargo example [実行したいファイル名]
Rust-SDL2
それでは、順に実行していきたいと思います。
animation
cargo run --example animation
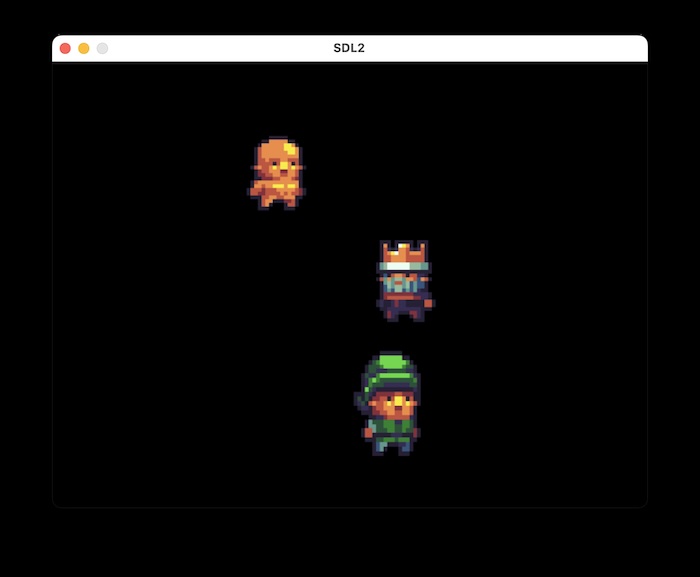
かわいいキャラクターが左右に動いております。
audio-capture-and-replay
cargo run --example audio-capture-and-replay
Capturing 3 seconds... Please rock!
Capture Spec = AudioSpec { freq: 22050, format: S16LSB, channels: 2, silence: 0, samples: 1024, size: 4096 }
AudioDriver: "coreaudio"
Average Volume of your Recording = 0.80597985%
Max Volume of your Recording = 5.81988%
Playing...
Playback Spec = AudioSpec { freq: 22050, format: S16LSB, channels: 2, silence: 0, samples: 1024, size: 4096 }
マイク接続のサンプルのようで、マイクの許可を求められます。
実行すると自動的に終了しました。
audio-queue-squarewave
cargo run --example audio-queue-squarewave
ビープ音が再生されます。
audio-squarewave
cargo run --example audio-squarewave
さきほどよりも高い音が鳴ります。
audio-wav
cargo run --example audio-wav
ポっ一瞬鳴ります。
audio-whitenoise
cargo run --example audio-whitenoise
その名の通り、ホワイトノイズ。ザーとノイズ音が鳴ります。
cursor
cargo run --example cursor --features="image" [cursor image path]
カーソルを変更するデモ。画像の指定が必要。
用意されている画像を指定する場合。
cargo run --example cursor --features="image" ./assets/cursor.png
画像では、カーソルが消えてしまいました。クリックすると点が残ります。
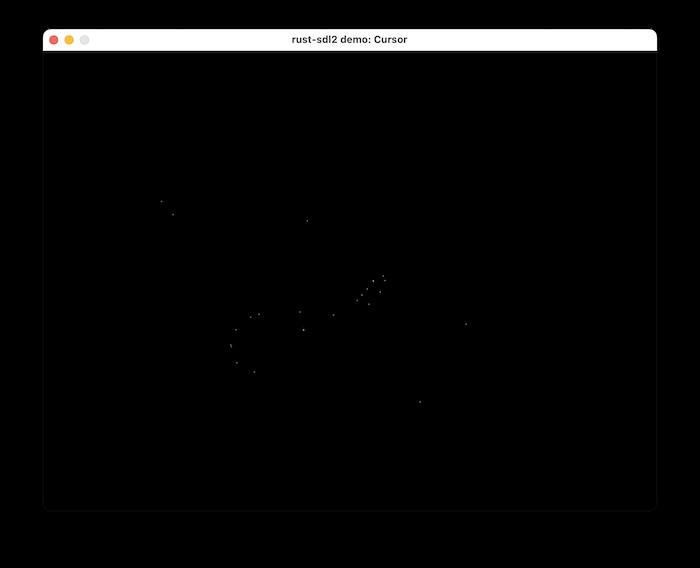
用意されている画像はこちら。カーソルを変更することができます。
![]()
demo
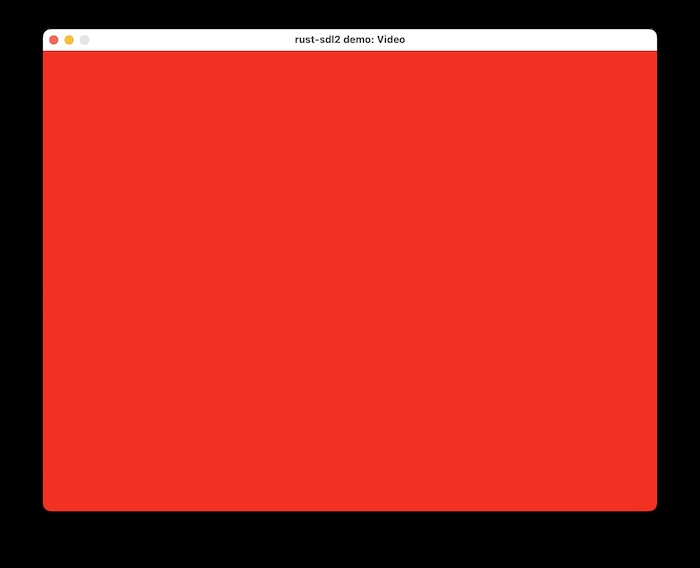
cargo run --example demo
Draw関数で、Color::RGB(255, 0, 0)の赤を指定されているので、真っ赤に染まります。
events
cargo run --example events
キーボードやマウス、ウィンドウ移動などのイベントをキャッチし、ログに出力します。
This example simply prints all events SDL knows about.
Window { timestamp: 123, window_id: 1, win_event: Shown }
Window { timestamp: 135, window_id: 1, win_event: Exposed }
Window { timestamp: 496, window_id: 1, win_event: FocusGained }
Window { timestamp: 2806, window_id: 1, win_event: Moved(595, 227) }
Window { timestamp: 2915, window_id: 1, win_event: Moved(623, 215) }
Window { timestamp: 3851, window_id: 1, win_event: Enter }
Window { timestamp: 3921, window_id: 1, win_event: Leave }
Window { timestamp: 6148, window_id: 1, win_event: Enter }
KeyDown { timestamp: 6604, window_id: 1, keycode: Some(Keycode(115)), scancode: Some(S), keymod: NOMOD, repeat: false }
TextInput { timestamp: 6606, window_id: 1, text: "s" }
KeyUp { timestamp: 6752, window_id: 1, keycode: Some(Keycode(115)), scancode: Some(S), keymod: NOMOD, repeat: false }
MouseButtonDown { timestamp: 7649, window_id: 1, which: 0, mouse_btn: Left, clicks: 1, x: 206, y: 456 }
MouseButtonUp { timestamp: 7753, window_id: 1, which: 0, mouse_btn: Left, clicks: 1, x: 206, y: 456 }
KeyDown { timestamp: 8238, window_id: 1, keycode: Some(Keycode(100)), scancode: Some(D), keymod: NOMOD, repeat: false }
TextInput { timestamp: 8239, window_id: 1, text: "d" }
KeyUp { timestamp: 8377, window_id: 1, keycode: Some(Keycode(100)), scancode: Some(D), keymod: NOMOD, repeat: false }
Window { timestamp: 8827, window_id: 1, win_event: Leave }
Window { timestamp: 9181, window_id: 1, win_event: FocusLost }
game-controller
cargo run --example game-controller
ゲームパッドの操作でログが出力します。
先にゲームパッドの接続が必要で、未接続だとエラーになります。
Button DPadLeft down
Button DPadLeft up
Button DPadLeft down
Button DPadLeft up
Button DPadRight down
Button DPadRight up
Button DPadUp down
Button DPadUp up
Button A down
Button A up
Button B down
Button B up
Button Y down
Button X down
Button Y up
Button X up
Button B down
Button B up
game-of-life-unsafe-textures
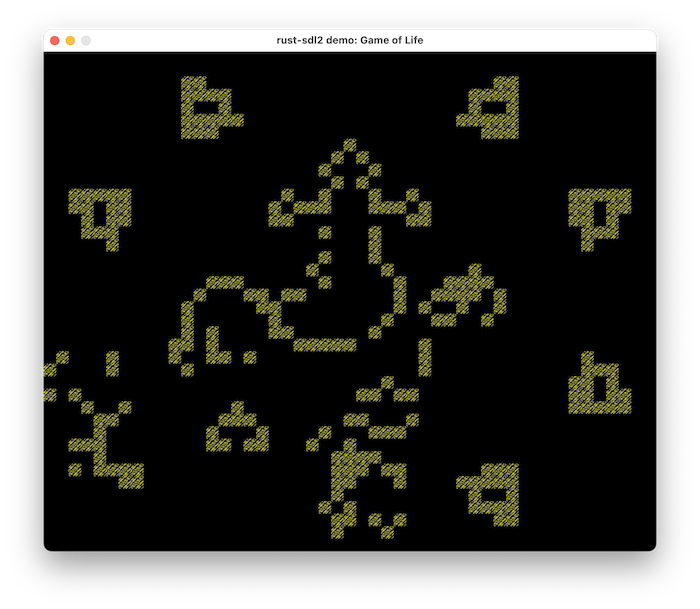
cargo run --example game-of-life-unsafe-textures --features="unsafe_textures"
ライフゲームのサンプルです。–featires=”unsafe_textures”の指定が必要。
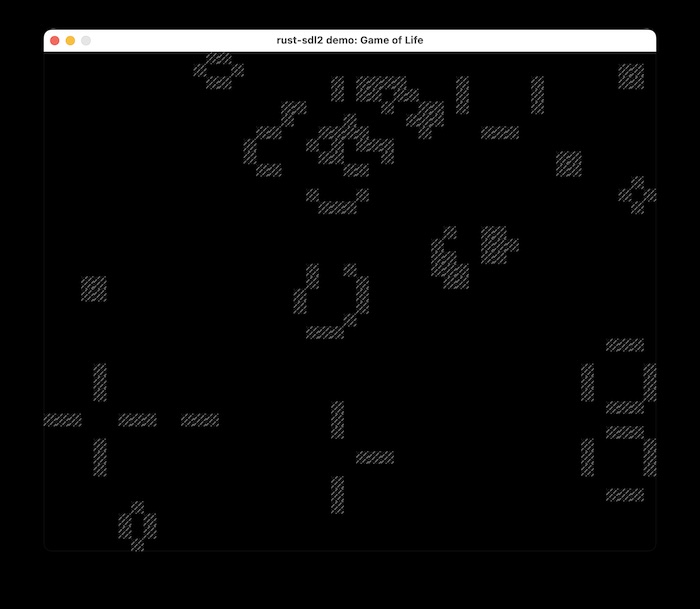
マウスの左クリックでセルを追加。スペースキー押下でスタート、ストップできます。
game-of-life
cargo run --example game-of-life
上記同様、ライフゲームのサンプルです。こちらは、–featires=”unsafe_textures”の指定は不必要となります。
gfx-demo
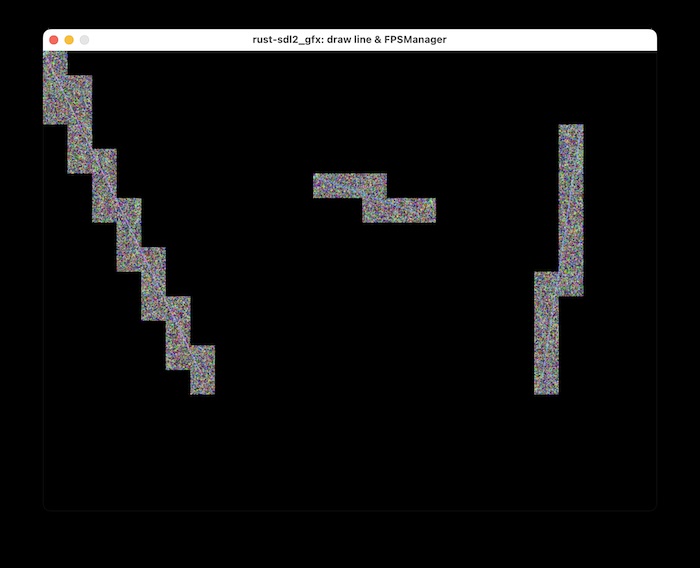
cargo run --example gfx-demo --features="gfx"
sdl::gfzのデモとなります。–featires=”gfx”の指定が必要。
マウスクリックで、ラインがドローされます。
クリックした座標もログで出力されます。
mouse btn down at (206,421)
mouse btn down at (489,212)
mouse btn down at (352,163)
mouse btn down at (701,96)
mouse btn down at (650,427)
haptic
cargo run --example haptic
ハプティック(触覚フィードバック)デバイスのデモ。
こちらもゲームパッドの接続が必要ですが、PS4のコントローラーだと、
ハプティック(触覚フィードバック)デバイスが見つからない。とのことでエラーになりました。
Success: opened "PS4 Controller"
Error: "SDL error: Haptic: There are 0 haptic devices available"
image-demo
cargo run --example image-demo --features="image" [image path]
イメージ表示のデモです。こちらは–featires=”image”の指定と、表示させたいイメージのパスが必要となります。
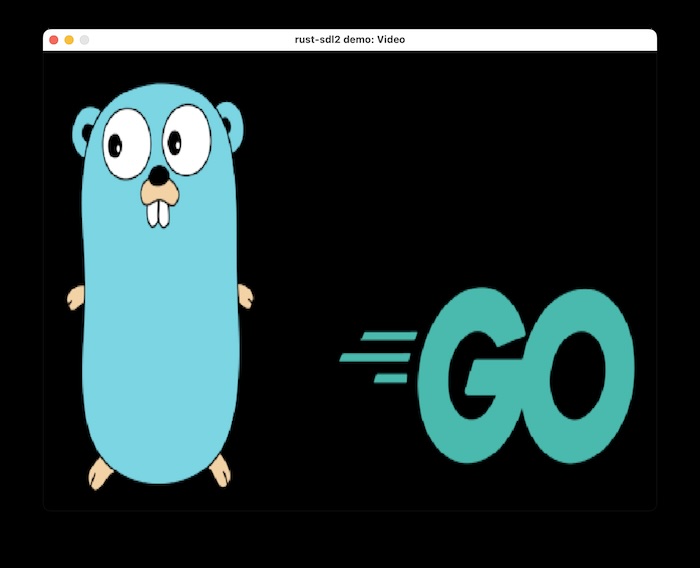
ゴッパーくんを表示させてみたところです。
joystick
cargo run --example joystick
こちらも先にゲームパッドの接続が必要で、未接続だとエラーになります。
PS4のコントローラーをBluetoothで接続し、操作したところログが出力されます。
1 joysticks available
Success: opened "PS4 Controller"
"PS4 Controller" power level: Unknown
Button 12 down
Button 12 up
Button 1 down
Error setting rumble to (0, 65535): SdlError("That operation is not supported")
Button 1 up
Set rumble to (0, 0)
Button 13 down
Button 13 up
Button 3 down
Button 3 up
Button 0 down
Error setting rumble to (65535, 0): SdlError("That operation is not supported")
Button 0 up
Set rumble to (0, 0)
keyboard-state
cargo run --example keyboard-state
こちらは、キーボードの状態を出力するデモとなります。
キーボードの操作によってログが出力されます。
new_keys: {Keycode(97)}	old_keys:{}
new_keys: {}	old_keys:{Keycode(97)}
new_keys: {Keycode(13)}	old_keys:{}
new_keys: {}	old_keys:{Keycode(13)}
new_keys: {Keycode(115)}	old_keys:{}
new_keys: {}	old_keys:{Keycode(115)}
new_keys: {Keycode(102), Keycode(100)}	old_keys:{}
new_keys: {Keycode(101)}	old_keys:{Keycode(102), Keycode(100)}
new_keys: {Keycode(119), Keycode(110)}	old_keys:{}
new_keys: {}	old_keys:{Keycode(101), Keycode(119)}
new_keys: {Keycode(105)}	old_keys:{}
new_keys: {}	old_keys:{Keycode(110)}
new_keys: {}	old_keys:{Keycode(105)}
new_keys: {Keycode(32)}	old_keys:{}
new_keys: {}	old_keys:{Keycode(32)}
message-box
cargo run --example message-box
ウィンドウを閉じる際にアラートダイアログを表示するデモです。
選択肢のログが出力されます。
Ok(CustomButton(ButtonData { flags: RETURNKEY_DEFAULT, button_id: 1, text: "Ok" }))
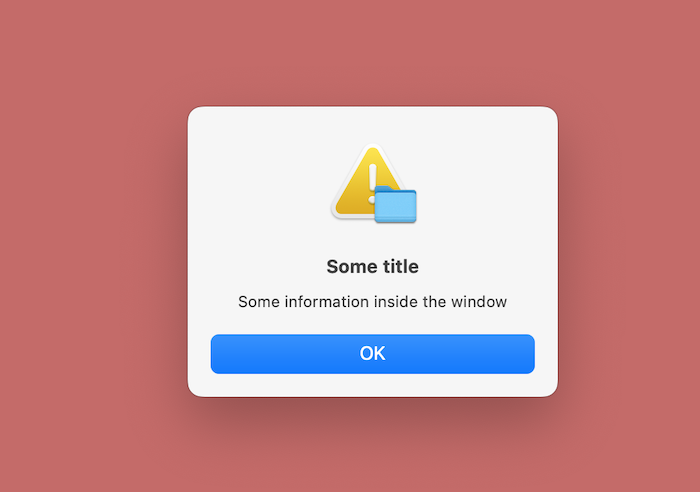
最後にOKかNGか、またはキャンセルの選択するボタンが表示。
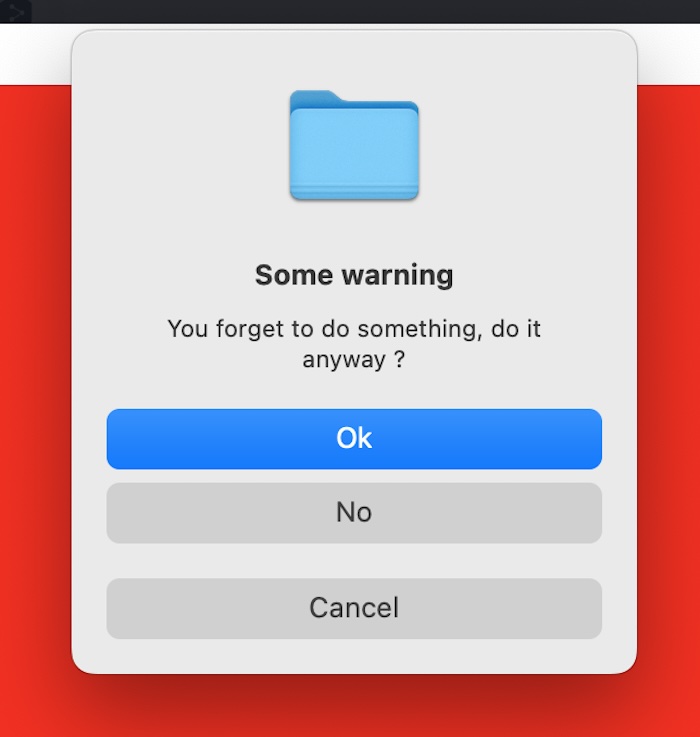
mixer-demo
cargo run --example mixer-demo --features="mixer" [sound file path]
音源ファイルのミキシングデモです。
こちらは–featires=”mixer”の指定と、音源ファイルのパスの指定が必要となります。
用意されているアセットを指定する場合。
cargo run --example mixer-demo --features="mixer" ./assets/sine.wav
ログにそれぞれ出力されます。
linked version: 2.8.0
available chunk(sample) decoders: 7
  decoder 0 => WAVE
  decoder 1 => AIFF
  decoder 2 => VOC
  decoder 3 => FLAC
  decoder 4 => MOD
  decoder 5 => MP3
  decoder 6 => OGG
available music decoders: 8
  decoder 0 => CMD
  decoder 1 => WAVE
  decoder 2 => FLAC
  decoder 3 => XMP
  decoder 4 => MOD
  decoder 5 => MPG123
  decoder 6 => MP3
  decoder 7 => OGG
query spec => Ok((44100, 32784, 2))
music => <Music>
music type => MusicWav
music volume => 128
play => Ok(())
chunk volume => 128
playing sound twice
play ends! from rust cb
played sound
fading out ... Ok(())
mouse-state
cargo run --example mouse-state
マウスがクリックされたときの座標とどのボタンがクリックされたがログで出力します。
X = 166, Y = 238 : {Left} -> {}
X = 166, Y = 238 : {} -> {Left}
X = 166, Y = 238 : {Right} -> {}
X = 166, Y = 238 : {} -> {Right}
X = 166, Y = 238 : {Left} -> {}
X = 166, Y = 238 : {} -> {Left}
X = 166, Y = 238 : {Left} -> {}
X = 358, Y = 310 : {} -> {Left}
X = 382, Y = 320 : {Left} -> {}
X = 149, Y = 388 : {} -> {Left}
X = 149, Y = 387 : {Left} -> {}
X = 151, Y = 396 : {} -> {Left}
X = 245, Y = 455 : {Left} -> {}
X = 305, Y = 414 : {} -> {Left}
X = 328, Y = 394 : {Left} -> {}
X = 331, Y = 335 : {} -> {Left}
X = 311, Y = 231 : {Left} -> {}
X = 310, Y = 229 : {} -> {Left}
no-renderer
cargo run --example no-renderer
キーボードキー押下で色変化します。
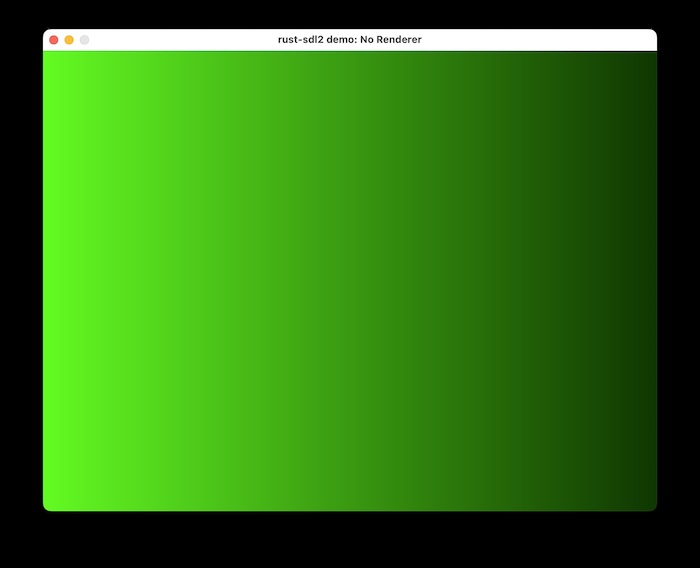
relative-mouse-state
cargo run --example relative-mouse-state
マウスがクリックされたときの相対座標がログで出力されます。
Relative - X = 163, Y = -34
Relative - X = -58, Y = 6
Relative - X = -17, Y = -109
Relative - X = 229, Y = -109
Relative - X = 0, Y = 0
Relative - X = 300, Y = -72
Relative - X = 0, Y = 0
Relative - X = 2, Y = 3
Relative - X = 7, Y = 18
Relative - X = 10, Y = 49
Relative - X = 0, Y = 16
Relative - X = -38, Y = 164
Relative - X = -36, Y = 112
Relative - X = -474, Y = 66
Relative - X = -46, Y = -297
Relative - X = 4, Y = -114
renderer-target
cargo run --example renderer-target
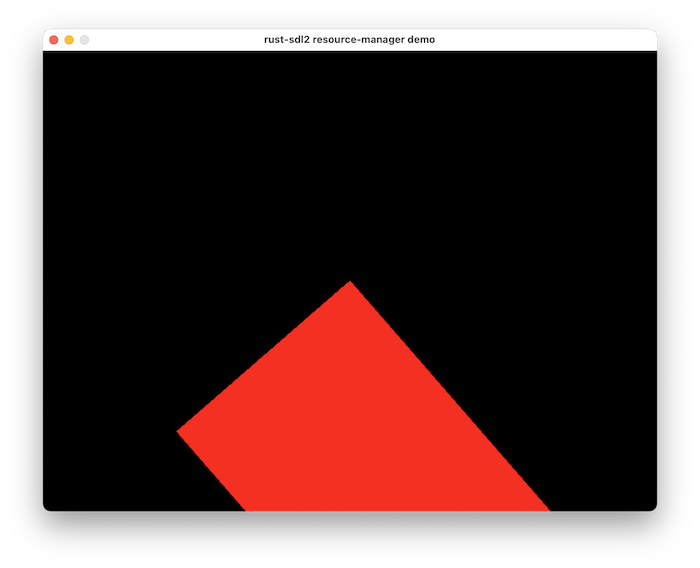
とある点を起点とし、レンダリングのターゲットが回転します。
renderer-texture
cargo run --example renderer-texture
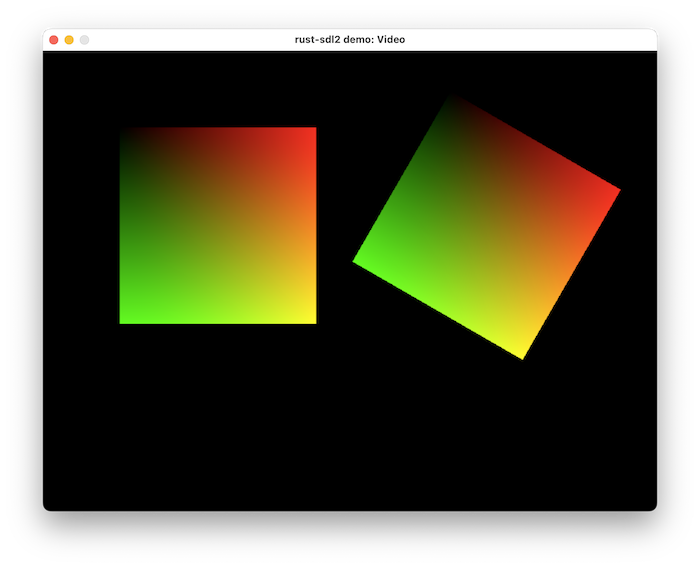
グラデーションカラーのRectが2つ表示します。
renderer-yuv
cargo run --example renderer-yuv
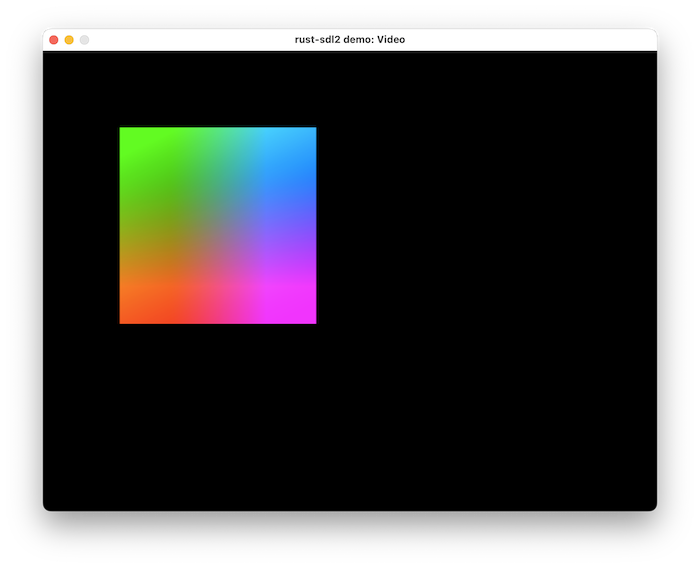
先程より鮮やかなグラデーションカラーのRectが表示します。
resource-manager
cargo run --example resource-manager --features="ttf image" [image path] [font path]
イメージとフォントをマネージメントするデモです。
こちらは、–featires=”ttf image”の指定と、imageファイルのパス、フォントリソースのパスが必要となります。
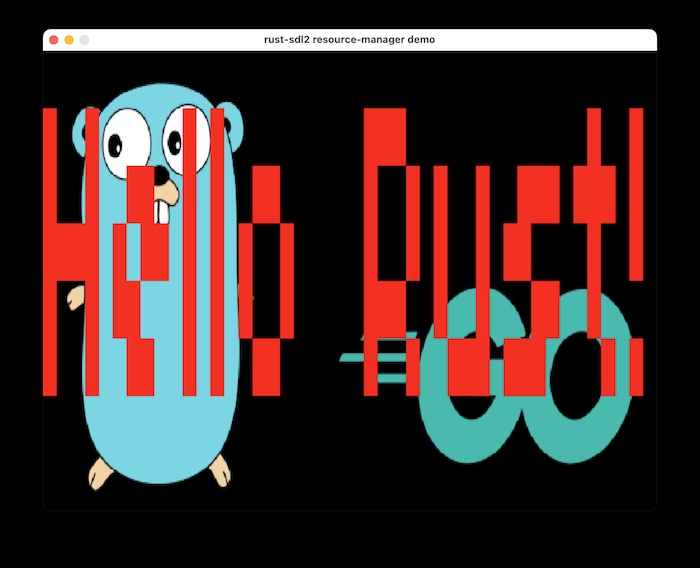
ゴッパーくんを表示してみた形となります。
sensors
cargo run --example sensors
こちらはそのままだとエラーになってしまいました。
error[E0004]: non-exhaustive patterns: `SDL_SensorType::SDL_SENSOR_ACCEL_L`, `SDL_SensorType::SDL_SENSOR_GYRO_L`, `SDL_SensorType::SDL_SENSOR_ACCEL_R` and 1 more not covered
ttf-demo
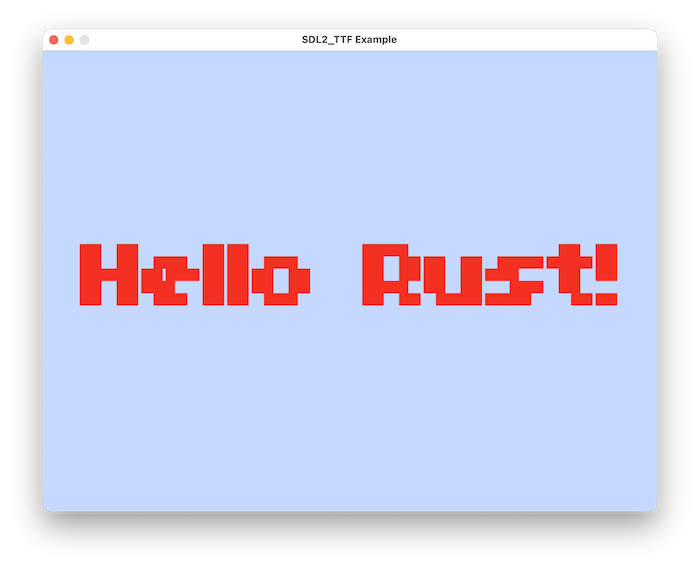
cargo run --example ttf-demo --features="ttf" [font path]
フォントリソースの指定のデモです。
こちらは、–featires=”ttf”の指定とフォントリソースのパスが必要となります。
指定したフォントで、「Hello Rust」の文字列がレンダリングされます。
window-properties
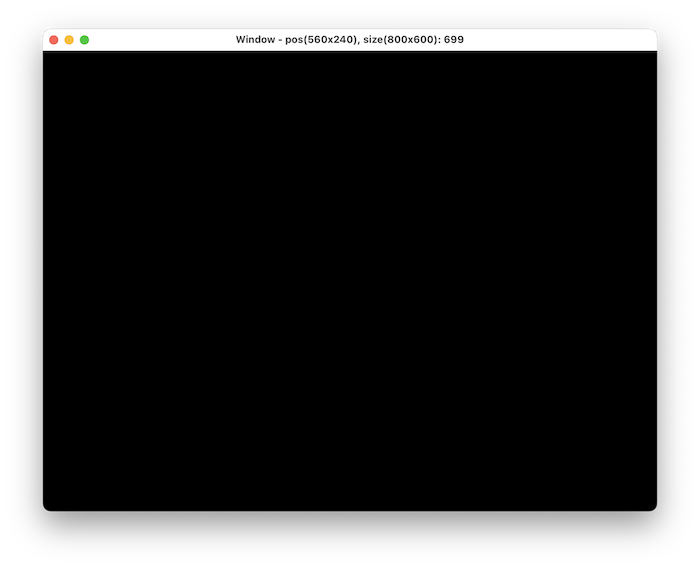
cargo run --example window-properties
ウィンドウプロパティのデモです。
ウィンドウタイトルのところがカウントアップされているのが確認できます。
ということで、今回はRust-SDL2 examplesを試してみました。
Rustプロジェクトにおいて、「examples」などの仕組みは便利なこともありますので、クレートを開発する際などは「examples」も用意しておくと利用者側も助かるかと思いますので、積極的に用意しましょう。
ではではぁまたまたぁ。
