Rust – Actix Web × MongoDB環境をサクッと起動
2024.01.18
この記事は最終更新日から1年以上が経過しています。
どもです。
昨年より業務でガッツリRustでの開発を行ってはいるのですが、主にクライアントアプリ開発の方で、そういえばサーバー周りはどうなっているのだろうと、最近はもごもご漁っている状況だったりします。
Rustのasync対応も終わり、サーバーフレームワークの方も安定且つ、増えて来ている状況で、全然Rustでのサーバー開発はアリだなと感じている今日このごろです。
というか、サーバー開発で使わない理由の少なさもあって、むしろ積極的にサーバー開発にRust採用していくべきだと思いますし、今後も増えていくのだろうと肌感で感じました。
という訳で、今日は、RustのサーバーフレームワークのActix Webを用いて、DBはmongodbでローカル開発環境をサクッと起ち上げて行きたいと思います。
HomebrewでMongoDBをインストール
HomebrewでMongoDBをインストールしていきます。この辺解説は割愛させていただきます。
brew tap mongodb/brew
brew install mongodb-community
バーションの確認
mongod --version
起動・停止方法の確認
brew services start mongodb-community
brew services stop mongodb-community
MongoDB compassでDB作成
MongoDBのGUIツールのMongoDB compassをインストールしましょう。
こちらは任意でインストールしていただければと。cliで行う方は飛ばして頂いて問題ありません。
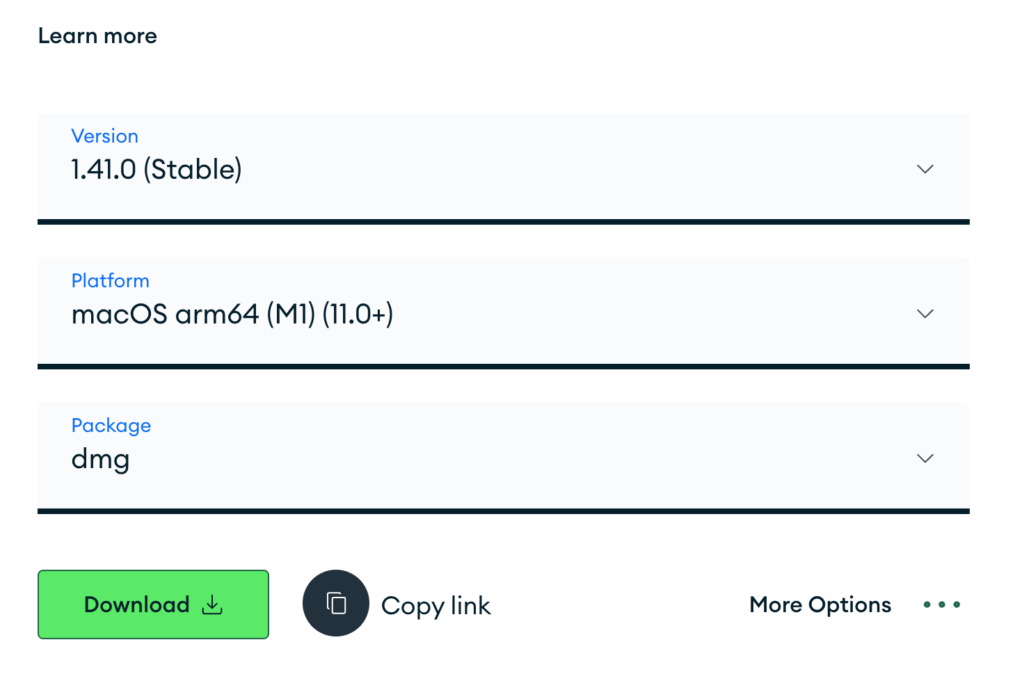
MongoDB compass公式のHPよりcompassをインストールしていきます。
ダウンロードページは以下になります。該当するPlatformを選択しダウンロードしましょう。
brewコマンドでmongodbを起動しましたら、MongoDB compass「mongodb://localhost:27017」で接続。+アイコンでデータベース「myApp」を作成、左上の「+ Create collection」ボタンを押下、Collection Name「users」で、「Create collection」ボタンを押下。
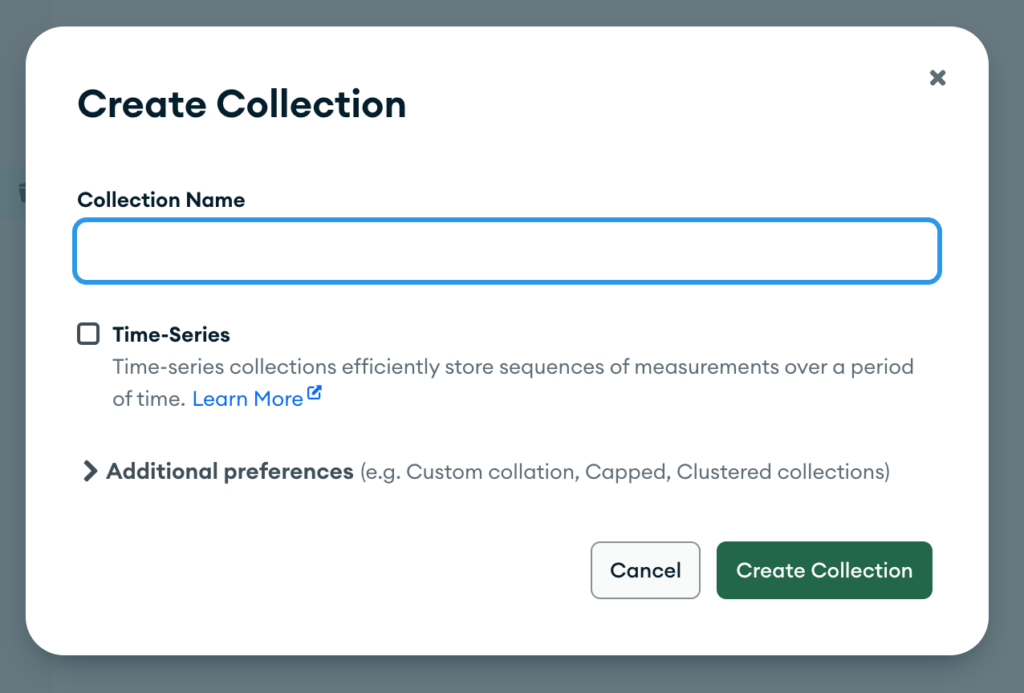
これで、DB名「myApp」、collectionは「users」の形で、準備が完了。
Actix Web
それでは、Actix Webとmongodbを用いて、APIを作っていきます。
まずは、cargo newで新規プロジェクト作成。
cargo new mongodb --bin
createは以下の3つを使用します。
[dependencies]
mongodb = "2"
actix-web = "^4"
serde = { version = "^1", features = ["derive"] }
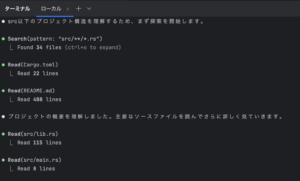
プログラムを書いて行くのですが、Actix Webはサンプルが豊富で、mongodbを用いたサンプルも以下に存在します。なので、ソースだけ知りたい方は、こちらを見ていただければと。
GitHub
examplesのソースを追っていきましょう。まずは「src/model.rs」ですが、struct Userを定義しております。
User Model: src/model.rs
pub struct User {
    pub first_name: String,
    pub last_name: String,
    pub username: String,
    pub email: String,
}
はい。後は「main.rs」となります。createのインポートや、定数を定義しましょう。
先程のDB名、collection名もこちらで定義しております。
src/main.rs
mod model;

use actix_web::{get, post, web, App, HttpResponse, HttpServer};
use model::User;
use mongodb::{bson::doc, options::IndexOptions, Client, Collection, IndexModel};

const DB_NAME: &str = "myApp";
const COLL_NAME: &str = "users";
Actix Webでは、#[post(“/add_user”)]といったアトリビュートでのAPIの定義を行うことが可能です。以下の場合は /add_userのURIに対して、add_user関数を実行し、ユーザーを作成する処理(API)となります。
mongodbである、clientを引数collectionにアクセスし、ユーザーを作成。失敗したらエラーとなります。
ユーザー作成 POST: /add_user
/// Adds a new user to the "users" collection in the database.
#[post("/add_user")]
async fn add_user(client: web::Data<Client>, form: web::Form<User>) -> HttpResponse {
    let collection = client.database(DB_NAME).collection(COLL_NAME);
    let result = collection.insert_one(form.into_inner(), None).await;
    match result {
        Ok(_) => HttpResponse::Ok().body("user added"),
        Err(err) => HttpResponse::InternalServerError().body(err.to_string()),
    }
}
こちらは、ユーザーを参照するAPIとなります。usernameをURIに含め、DBを探索し該当するユーザーを取得します。
usernameに関してはuniqueとして設定されていますので、重複は想定していなくfind_oneで取得しています。
ユーザー参照 GET: /get_user/{username}
/// Gets the user with the supplied username.
#[get("/get_user/{username}")]
async fn get_user(client: web::Data<Client>, username: web::Path<String>) -> HttpResponse {
    let username = username.into_inner();
    let collection: Collection<User> = client.database(DB_NAME).collection(COLL_NAME);
    match collection
        .find_one(doc! { "username": &username }, None)
        .await
    {
        Ok(Some(user)) => HttpResponse::Ok().json(user),
        Ok(None) => {
            HttpResponse::NotFound().body(format!("No user found with username {username}"))
        }
        Err(err) => HttpResponse::InternalServerError().body(err.to_string()),
    }
}
サーバー起動時にcreate_username_index関数を呼び、ソースコードからDocumentsのusernameに対してindex設定を行っています。
なので、mongodb側でindexを外しユニークでは無くなっていたりすると、エラーとなります。
index処理
create_username_index(&client).await;

/// Creates an index on the "username" field to force the values to be unique.
async fn create_username_index(client: &Client) {
    let options = IndexOptions::builder().unique(true).build();
    let model = IndexModel::builder()
        .keys(doc! { "username": 1 })
        .options(options)
        .build();
    client
        .database(DB_NAME)
        .collection::<User>(COLL_NAME)
        .create_index(model, None)
        .await
        .expect("creating an index should succeed");
}
mainの処理は、mongodbにアクセスと、HttpServer::newでサーバーを起ち上げ、App::new()でmongodbのデータをapp data化。先程のAPIをservice化を行っています。
以下の環境で起動。
サーバー
MongoDB
mongodb://localhost:27017
#[actix_web::main]
async fn main() -> std::io::Result<()> {
    let uri = std::env::var("MONGODB_URI").unwrap_or_else(|_| "mongodb://localhost:27017".into());

    let client = Client::with_uri_str(uri).await.expect("failed to connect");
    create_username_index(&client).await;

    HttpServer::new(move || {
        App::new()
            .app_data(web::Data::new(client.clone()))
            .service(add_user)
            .service(get_user)
    })
    .bind(("127.0.0.1", 8080))?
    .run()
    .await
}
それでは、cargo runで起動しましょう。
cargo run
API疎通テスト
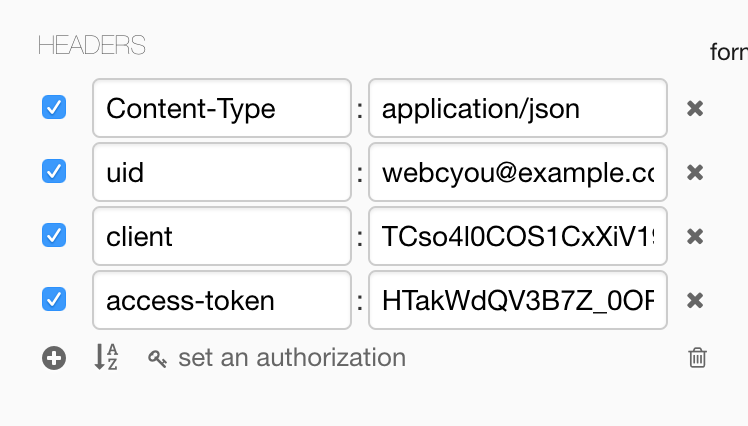
Postmanを用いてAPI疎通テストを行います。まずは、ユーザー作成したいので、POSTに設定で
URIは「http://127.0.0.1:8080/add_user」入力。
BodyはJSON形式で以下のデータを送信。

ユーザー作成 POST: /add_user
{
    "first_name": "daisuke",
    "last_name": "takayama",
    "username": "takayama_daisuke",
    "email": "webcyou@webcyou.com",
}
エラーが出なければ成功。では、作成したユーザーを取得しましょう。
ユーザー取得はGETで、URIを取得したいユーザー名も含めた「http://127.0.0.1:8080/get_user/takayama_daisuke」を入力。
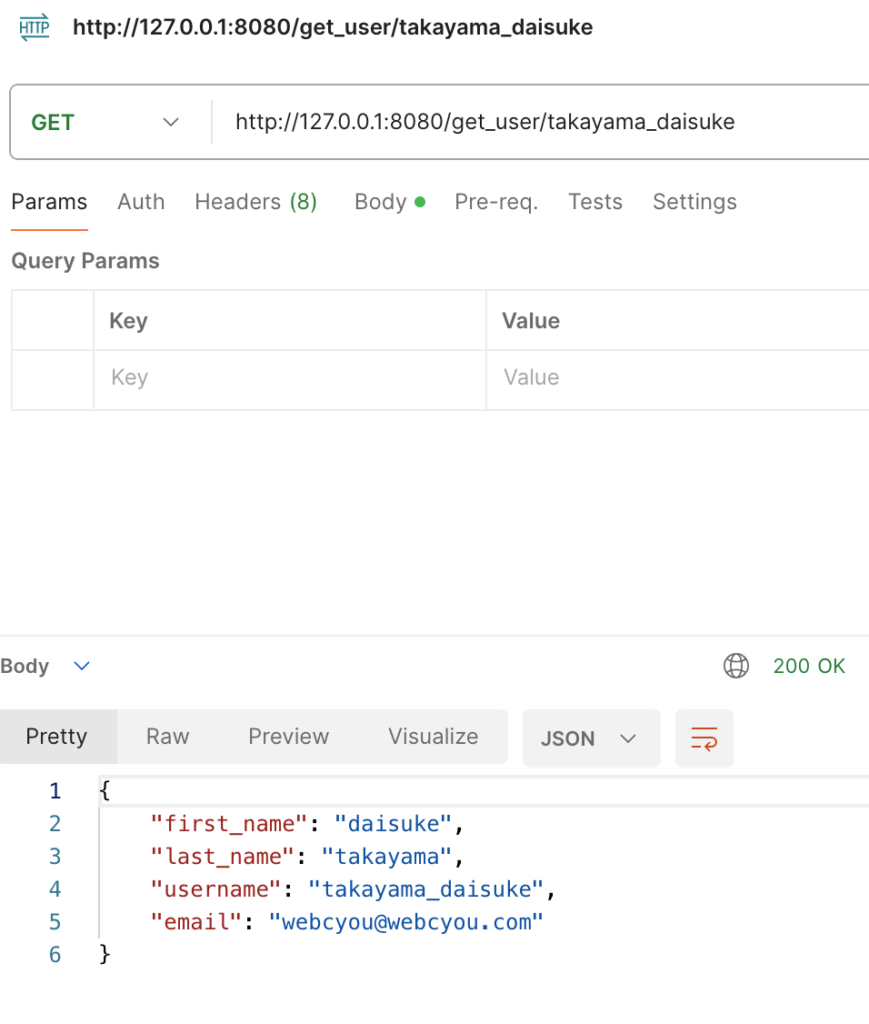
ユーザー参照 GET: /get_user/{username}
レスポンスに該当するユーザーがJSON形式で返却されれば成功。
{
    "first_name": "daisuke",
    "last_name": "takayama",
    "username": "takayama_daisuke",
    "email": "webcyou@webcyou.com"
}
と、一旦ここまでで起動は成功。
いやぁ。爆速のサーバーが容易に扱える事に喜びを感じております。
引き続きRustのサーバー周りも追っていこうと思います。
ではではぁ。